Flooring Installation in Brisbane
Our professional in-house installation team has been installing timber flooring 6 days per week for practically the past 20+ years! We have worked with all different timber flooring products, on all kinds of projects, and have encountered and solved every imaginable nuance. Our team holds all qualifications and licenses necessary for all types of installations, including work on building sites. We warranty ALL of our installations with the maximum allowed warranty length.
Zealsea Timber Flooring offers installation services in all types of dwellings:
- Houses
- Apartments
- Commerical premises
We offer a wide range of services listed below. All services are done to a renowned high quality standard, and covered by a full installation warranty.


SPC HYBRID FLOORING
Waterproof and extremely durable, we sell a wide range of SPC (stone polymer composite) hybrid flooring in 8 Oak imitation and 7 Australian timber imitation colours.

HIGH QUALITY BAMBOO
The most cost effective natural flooring product on the market, we import beautiful quality solid bamboo flooring in various options.

ENGINEERED EUROPEAN OAK
Featuring a range of 5 essential colours and a 3mm top layer.

ENGINEERED AUSSIE SPECIES
Featuring a semigloss finish and two options: Spotted Gum and Blackbutt.
Flooring Installation
Looking for a company providing professional flooring installation in Brisbane? Contact Zealsea Timber Flooring. We offer flooring installation services for houses, apartments and commercial premises.
In this article, we’ll tell you more about floor installation and the flooring installation services we offer. Although we install different types of flooring we’ll focus on the installation of hardwood flooring in this article.
Why use Zealsea Timber Flooring?
Our professional installation teams have solved many flooring problems for our clients for more than 20 years already. Our teams are
· qualified and
· licensed to work on virtually any type of flooring
· in any environment, including on building sites.
We cover all our installations with applicable warranties.
Popular types of flooring we work with
We will do everything to find the type of timber you require for your installation of flooring, but the following are the most popular flooring we work on daily:
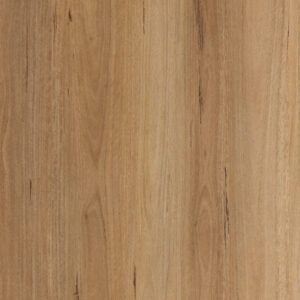
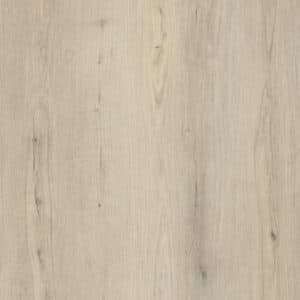
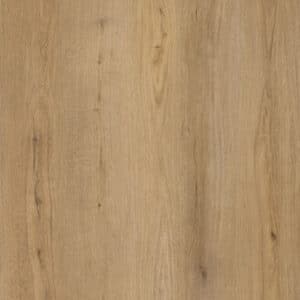
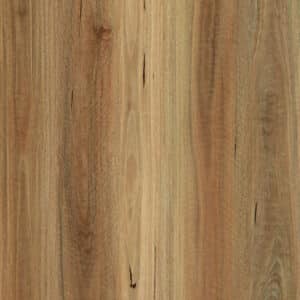
· Hybrid flooring – durable, completely waterproof and available in 8 Oak and 7 Australian timber imitation colors.
· High-quality bamboo – most cost-effective natural flooring.
· Oak – available with a 3 mm top layer and in 5 essential colors.
· Engineered Aussie species – Spotted Gum and Blackbutt options.
How we install your timber flooring
Zealsea is known for its ability to use the right way of installing your choice of flooring and to complete the job within budget and on schedule.
Floor preparation
Before our installation team install any flooring they will remove existing carpets, floating and direct stick flooring and install a moisture barrier and an acoustic underlay.
Installing solid planks
To install solid timber flooring the team
· lays builder-plastic over ground floor concrete and then
· lays down 12-15mm plywood to secure a subfloor with metal anchors.
· The team then glues solid boards to plywood and shoots secret nails into the boards.
· As the final step, the team sands and polishes the flooring.
Installing engineered flooring
Usually, we install engineered flooring according to the direct stick (glue down) method.
Installing parquetry (solid or engineered)
We install parquetry using a direct stick method and we glued each piece or block of parquetry individually down to the subfloor.
Installing bamboo flooring
Usually, we install bamboo flooring as a floating floor.
Other flooring-related services and conclusion
We are also experts with
· the installation of stairs,
· sanding of new and existing floors and
· repairing or providing skirting. Zealsea Timber offers the best flooring installation in Brisbane. Contact us now!
FAQs
WHAT ARE THE BENEFITS OF FLOORING INSTALLATION?
Some of the main benefits are:
· It adds to the elegance of your home and enhances its value.
· You keep hardwood floors clean very easily and they are more stain resistant than carpets and most other types of flooring.
· The color of hardwood flooring doesn’t fade over time.
IS IT HARD TO INSTALL FLOORING?
There are types of flooring that are not hard to install, but, generally speaking, timber flooring can be hard to install by DIY enthusiasts because of the different steps needed to install it correctly.
CAN I INSTALL FLOORING MYSELF OR DO NEED TO INVOLVE PROFESSIONALS?
Although it is possible to install flooring yourself it is better to use professional floor installers. The benefits of involving our professional teams include the following:
· We install the flooring very fast and on schedule to prevent your home from becoming a “building site.”
· Our installing team measure accurately and save you money because you only have to pay for the actual material the team has used.
HOW MUCH DOES FLOORING COST?
On average, the price of flooring installation in Australia will range from $22–$38 per m2. Hardwood floor installation costs depend on many factors, such as the type of wood you use and the time it will take to install all the floors. Hardwood floors are initially more expensive to install but in the long run hardwood flooring installation is a cost-effective option. Wooden floors are less likely to be damaged and easier to maintain than other flooring and therefore your cleaning or repair costs will not be very high.